

By Tuesday evening, the rain stopped. A few hours later, the water flow basically stopped.
From that day, through the rest of the rainy season, no more water came in the house. The heavy rains of the Pineapple Express never returned.
|
|
|
|
|
|
|
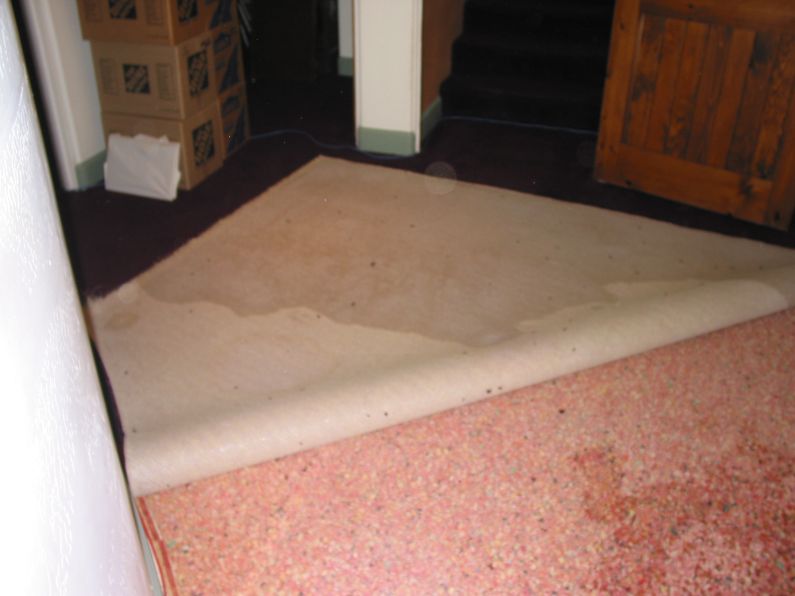
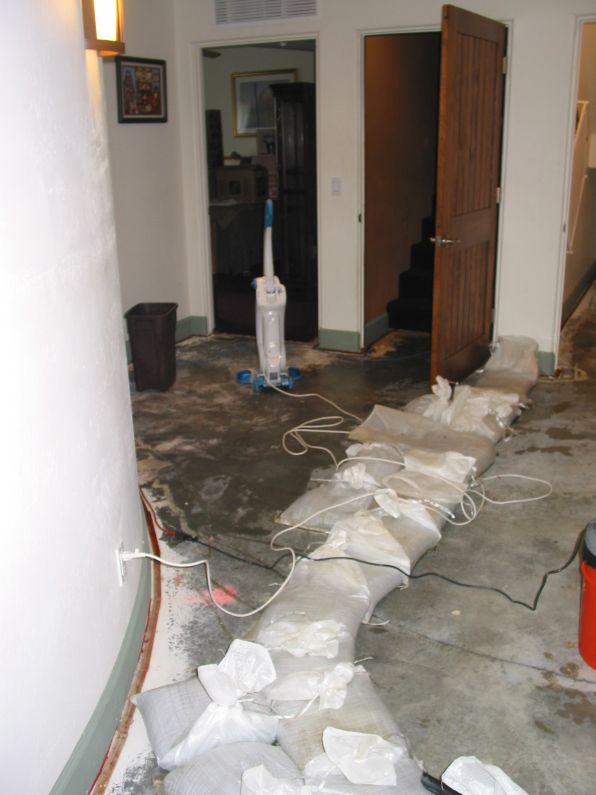
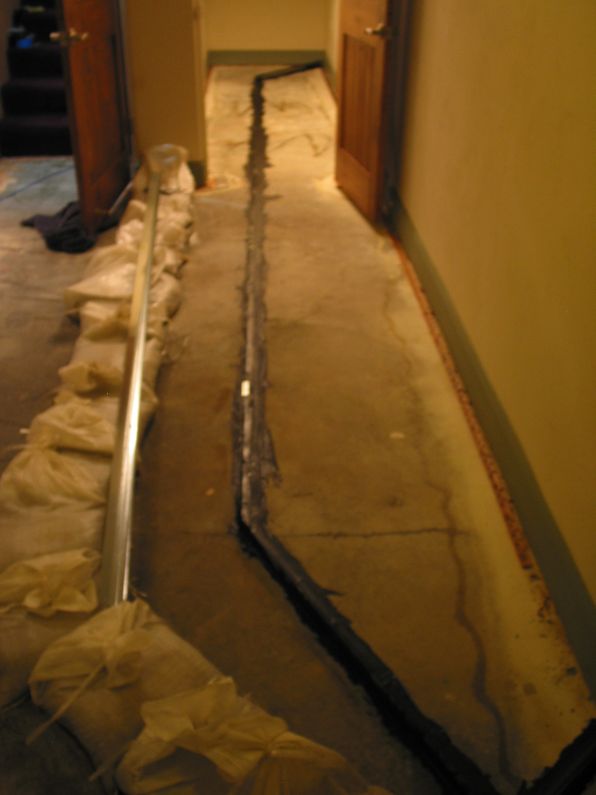
| By Tuesday I had to find a
better solution. First I got a couple dozen
sandbags from the local fire station. That helped to contain the water
so I could vacuum it up. At the peak flow, I was vacuuming up
about 5 gallons of water every 2-3 minutes. By Tuesday evening, the rain stopped. A few hours later, the water flow basically stopped. |
|
From that day, through the rest of the rainy season, no more water came in the house. The heavy rains of the Pineapple Express never returned. |
 |
 |
|
|
|
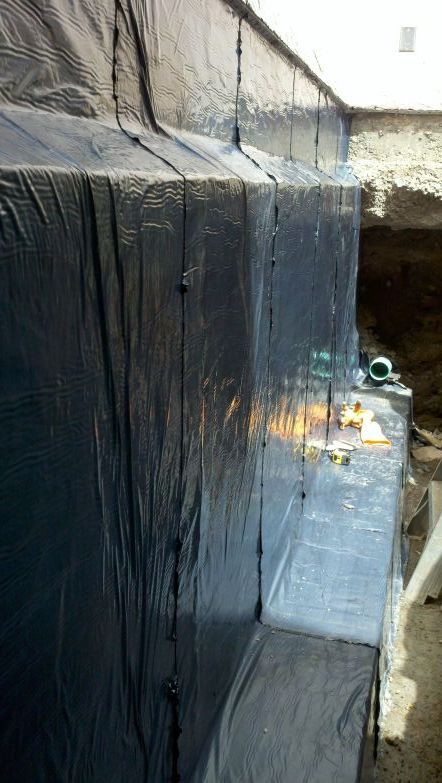
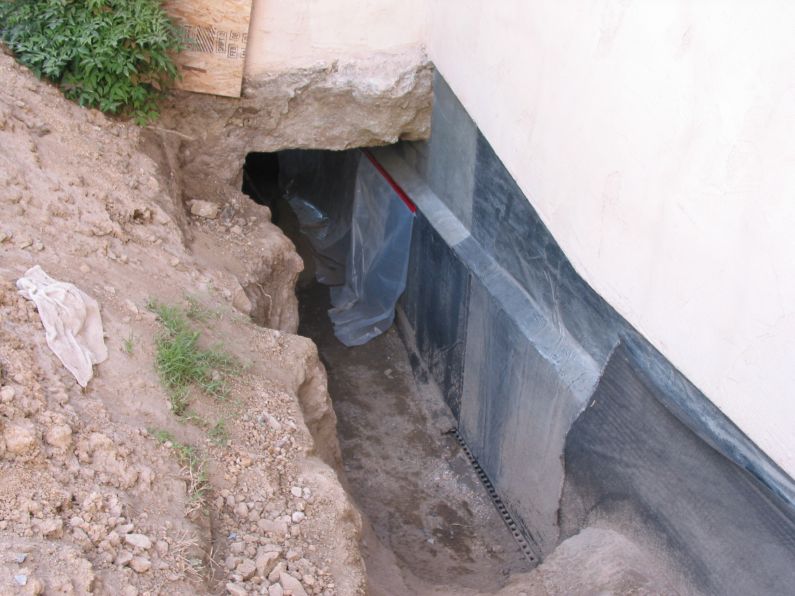
So here is the new waterproofing material applied to the wall.
|
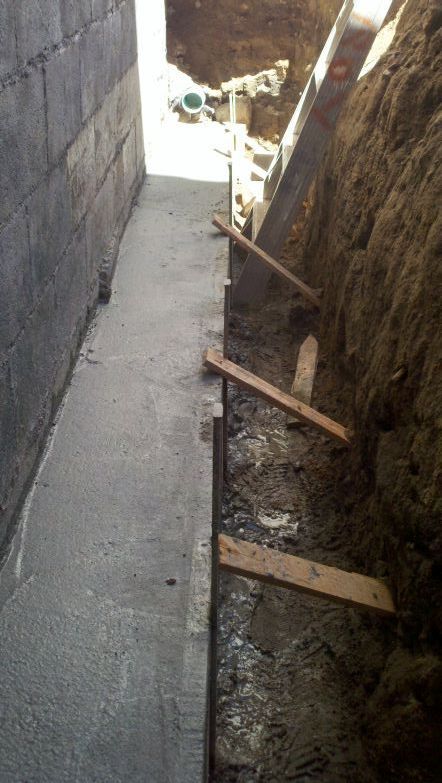
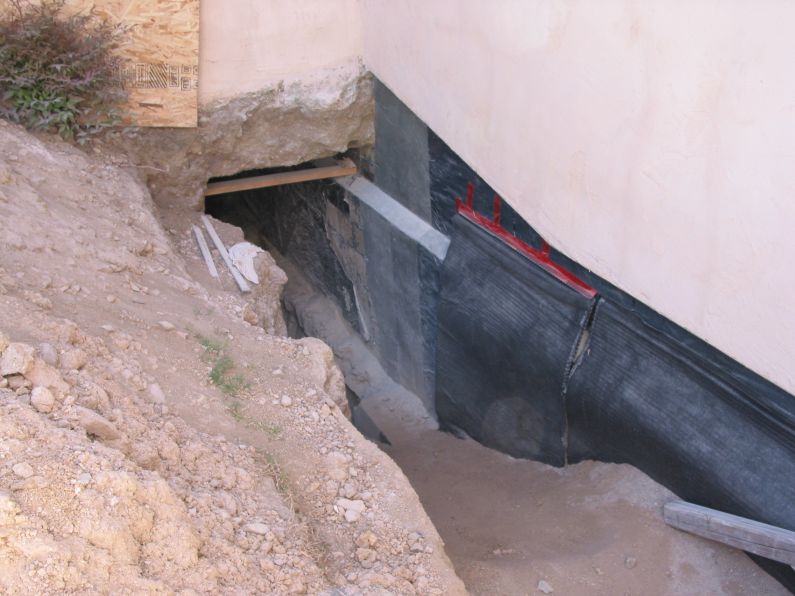
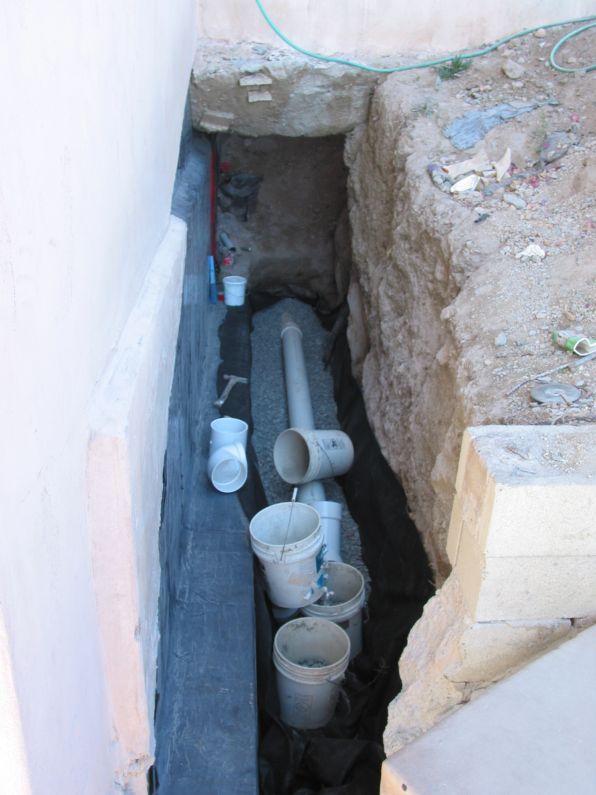
 Here, they have completed the waterproofing along the first section of the wall and and have partiallly back-filled it. |
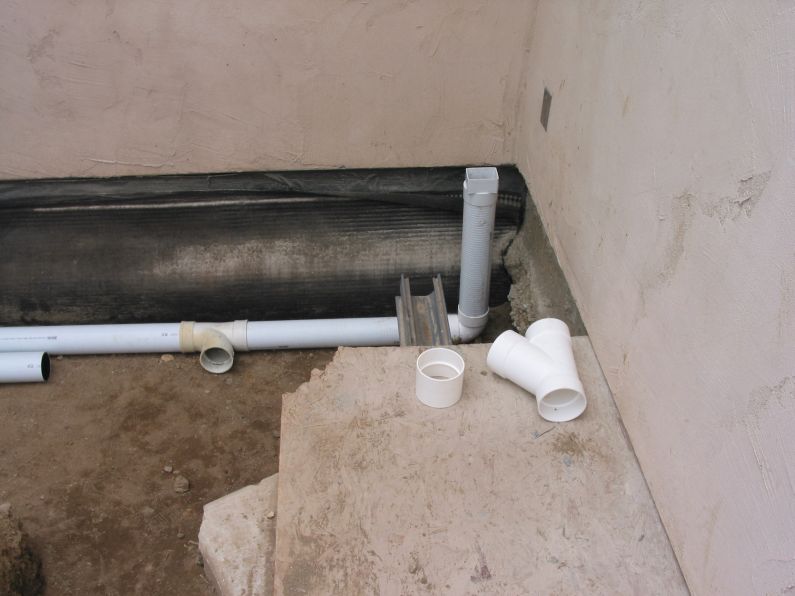
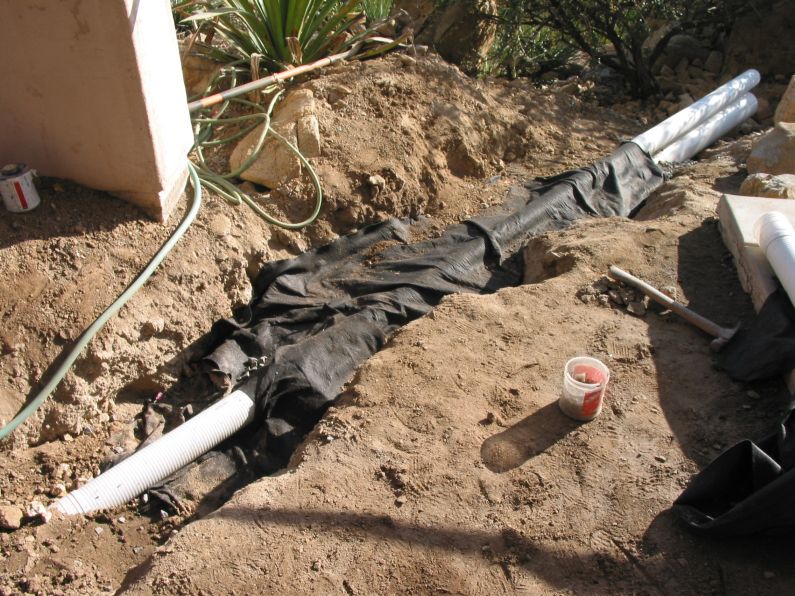
 The water proofing system that they installed consisted of a quarter-inch thick membrane that was hollow inside. This was laid against the wall. At the bottom of the membrane a thicker version collected the water and it flowed into a 6 inch drain pipe at several inlets. The pipe ran the entire length of the wall and reaching daylight, drained over the hillside. |
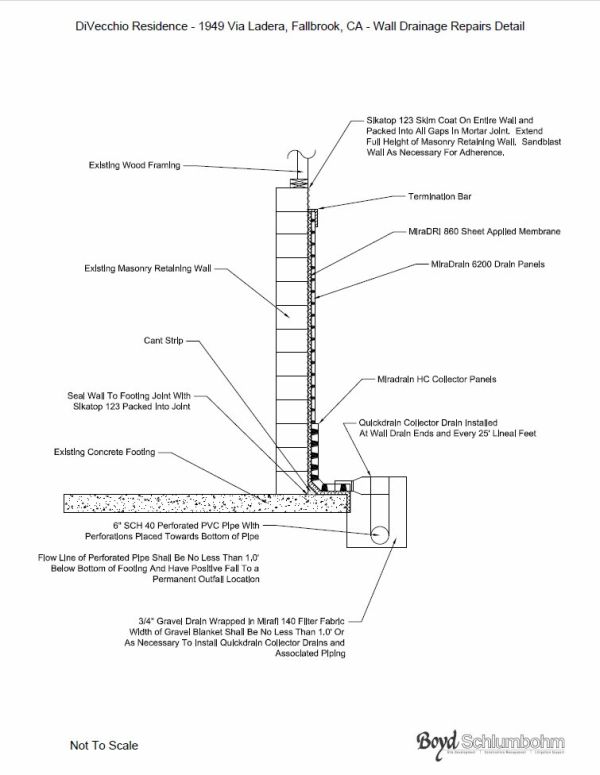 Here is a drawing prepared by our civil engineer that shows the waterproofing system to be installed. |
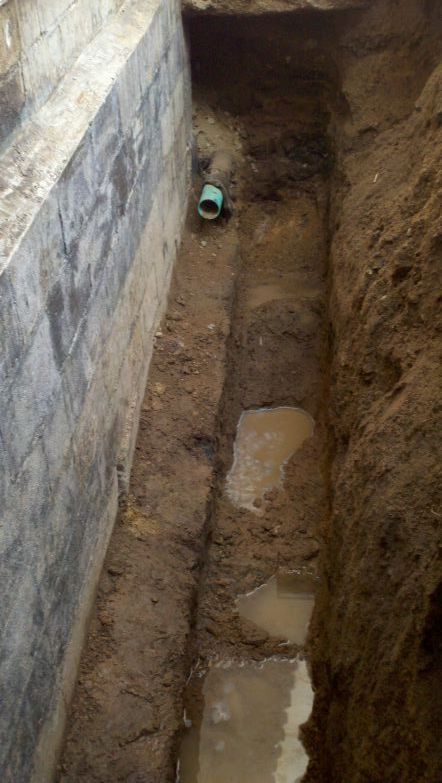
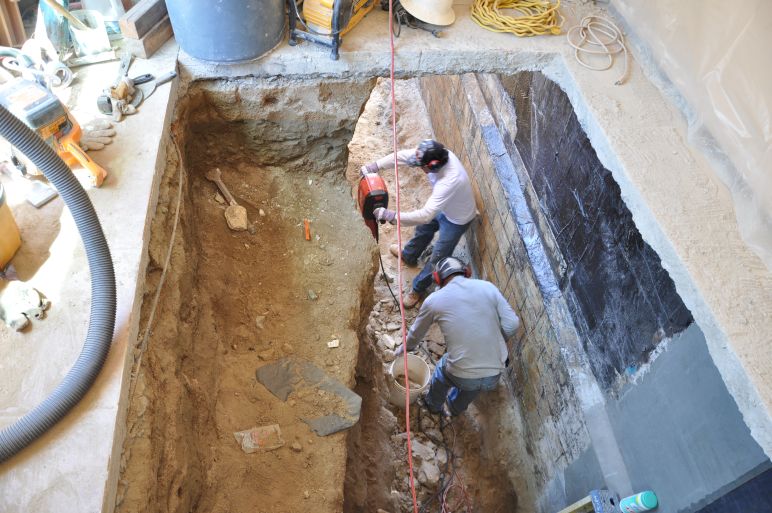
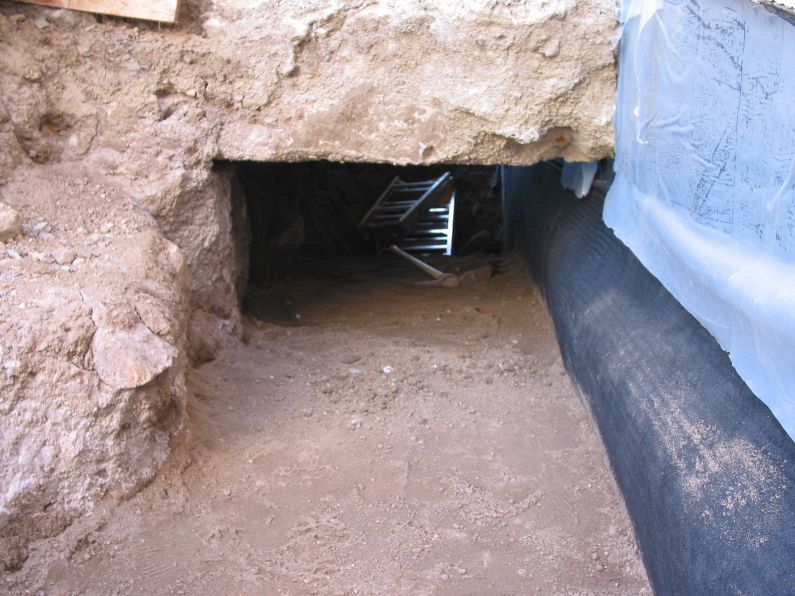
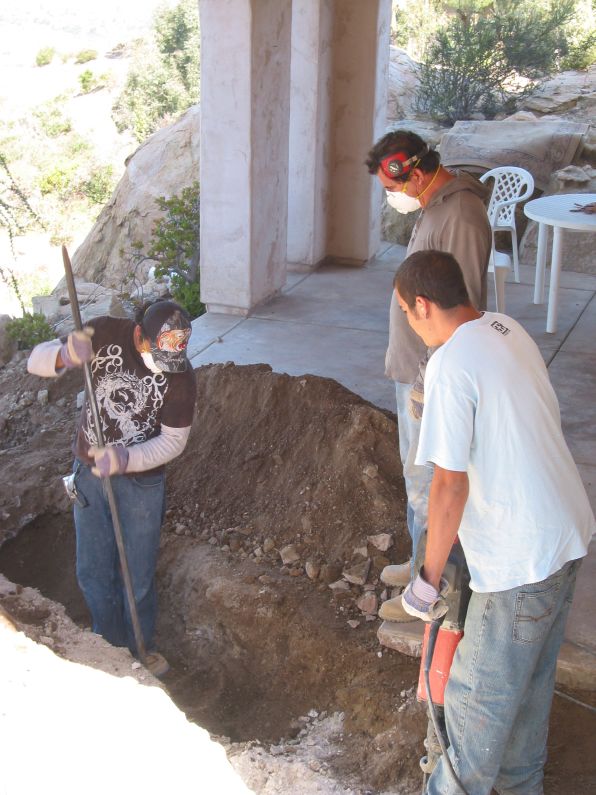
 At this point, they had started digging under the exercise room. They went in from the outside and ..... |
 |
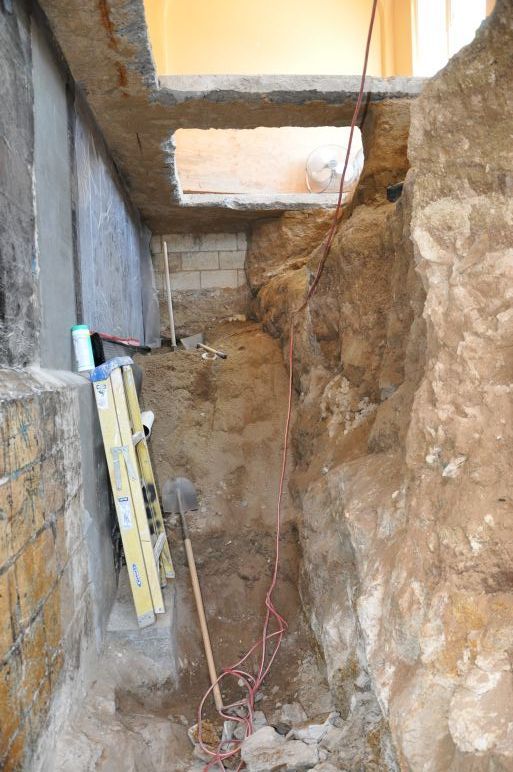
Here is a really good shot of the dig under the exercise room
|
 |
 |
 |
 |
 |

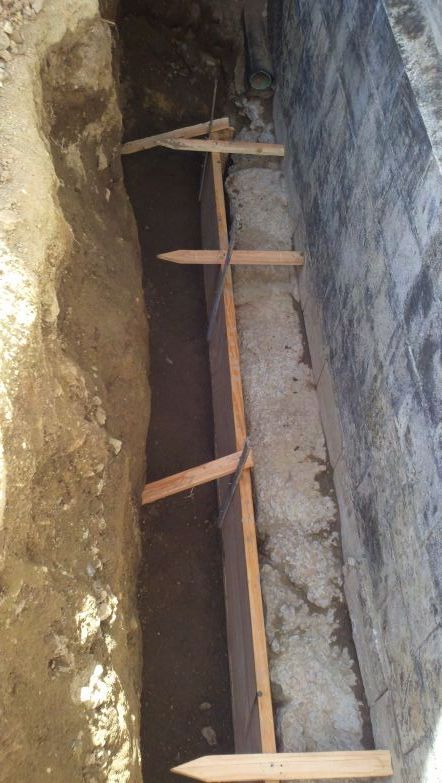
The last section of the wall
|
 |
 |
 |
 |
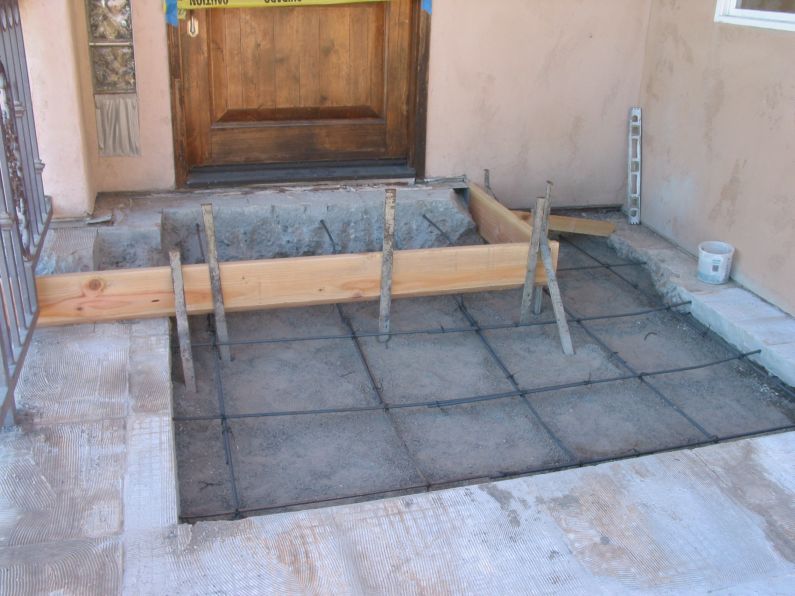
The first section of the wall, getting ready to frame the sidewalk.
|
 |
 |
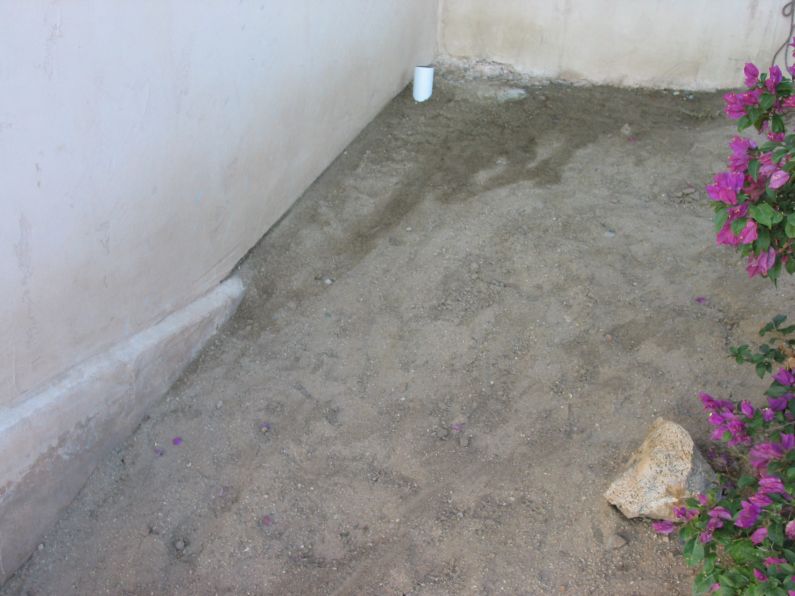
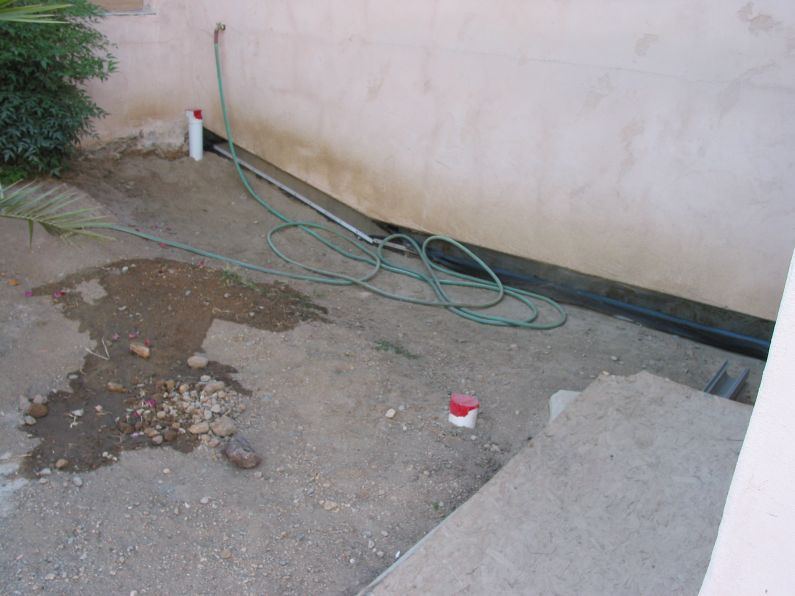
The last section of the wall, backfill complete. This section will be
left as dirt.
|
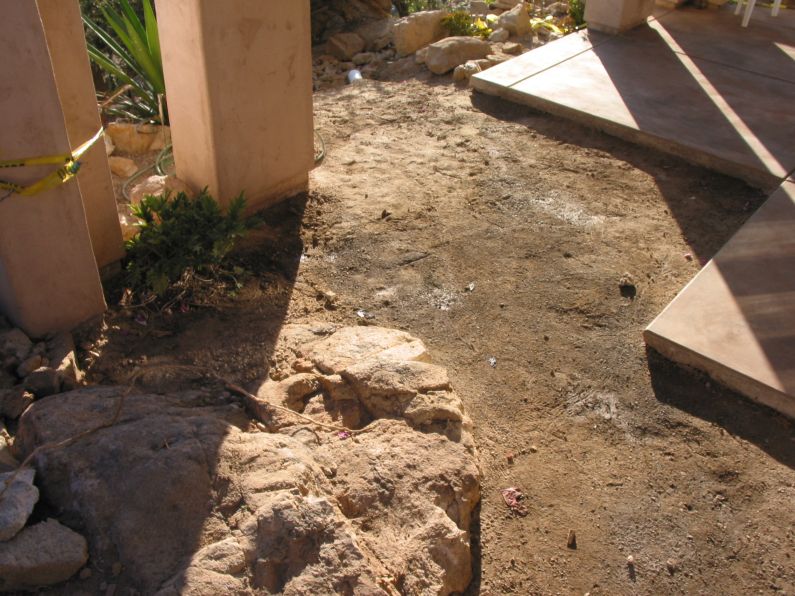
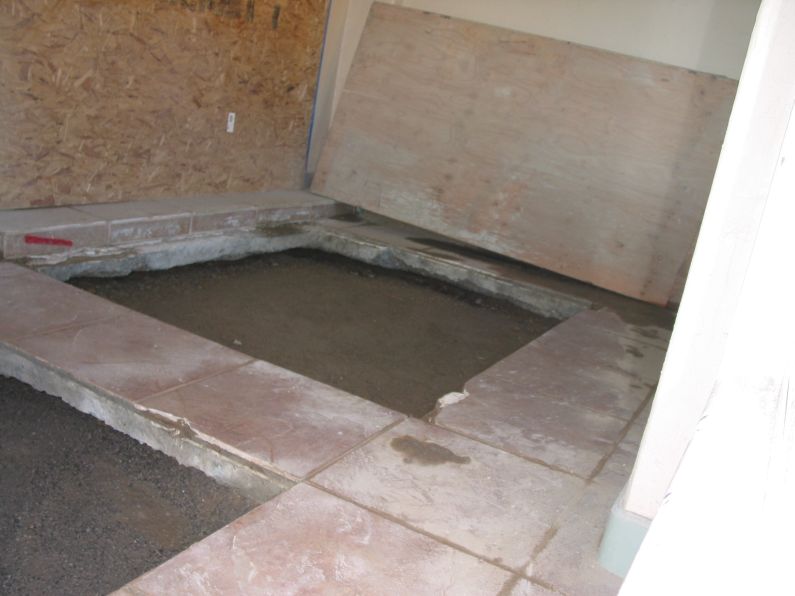
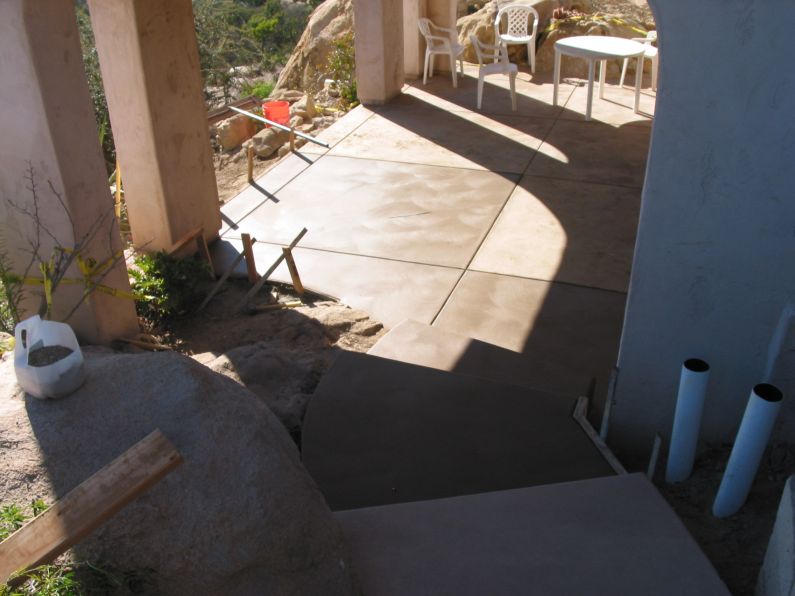
The patio, ready to be framed.
|
 |
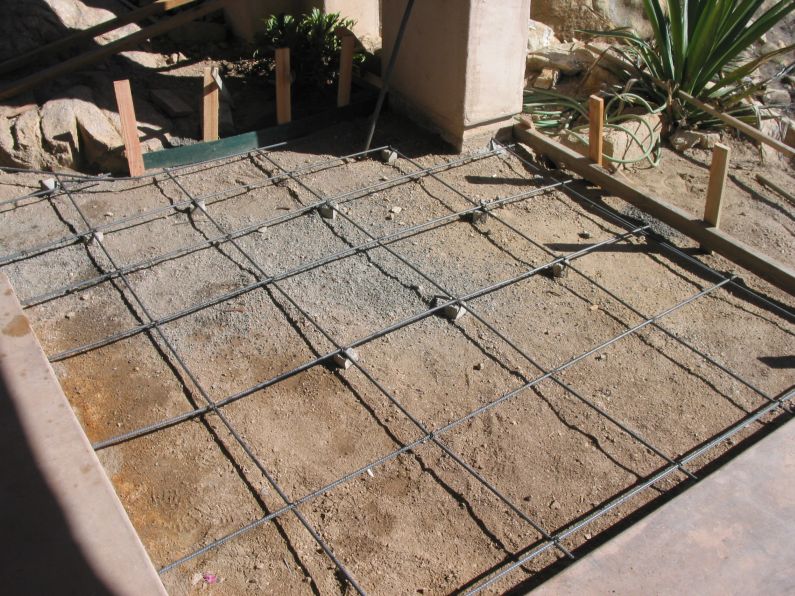
The patio, ready to go.
|
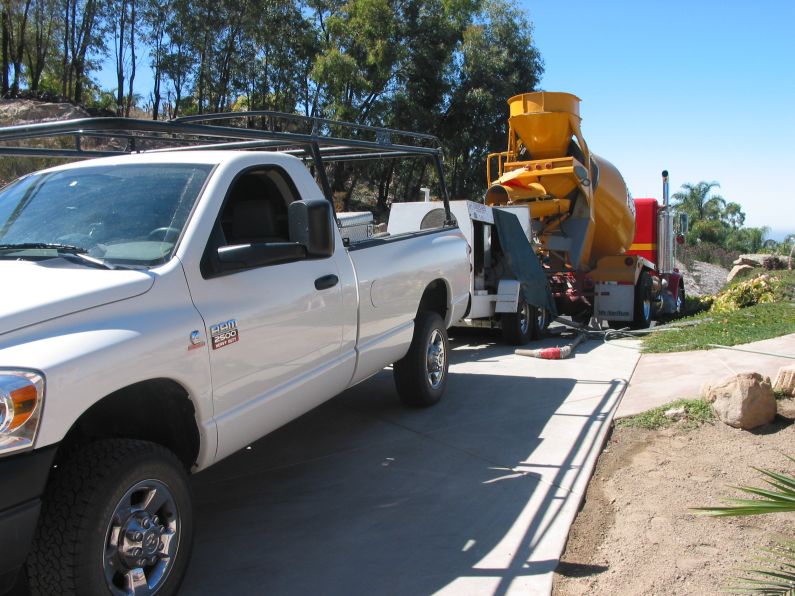
The big day. Eight to ten yards of concrete were used in the work.
|
The patio and steps, repoured.
|
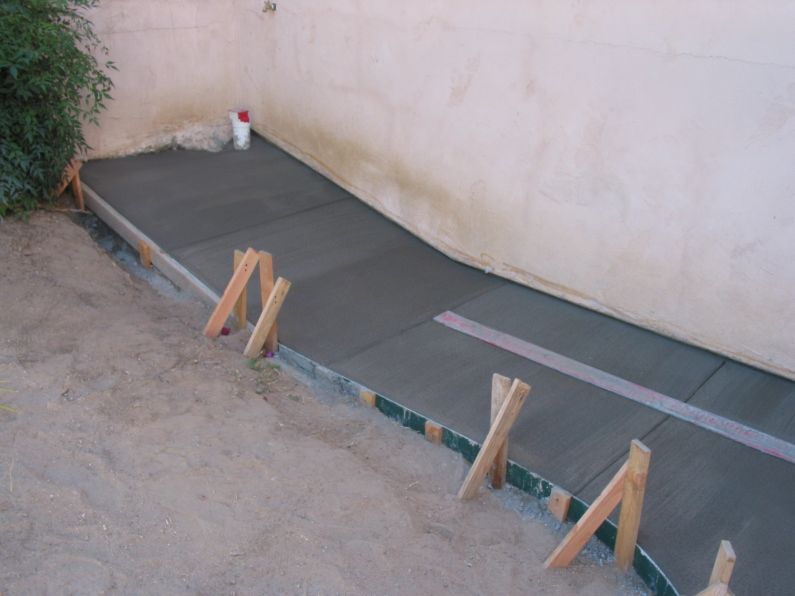
The sidewalk, repoured.
|
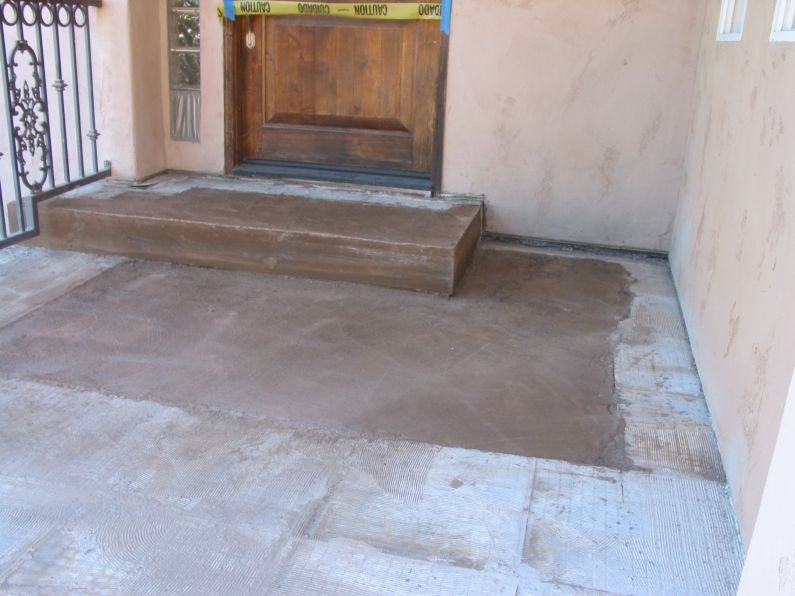
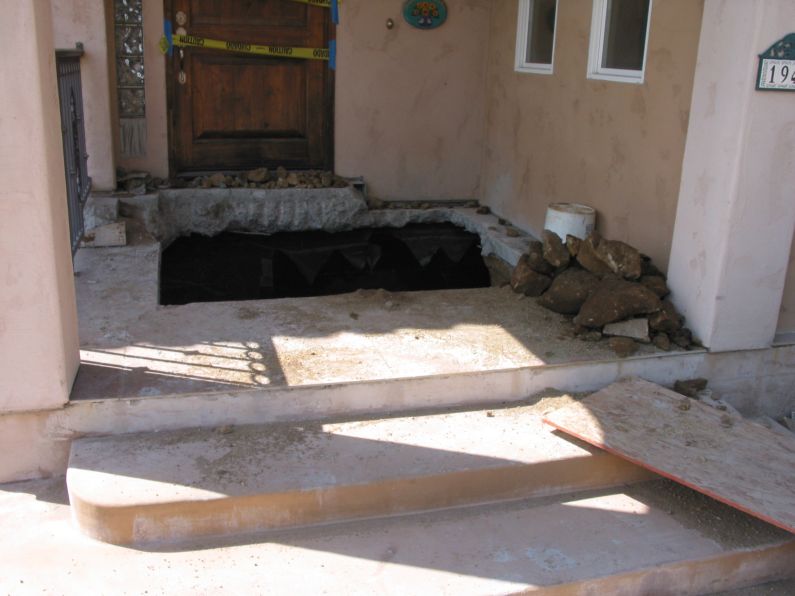
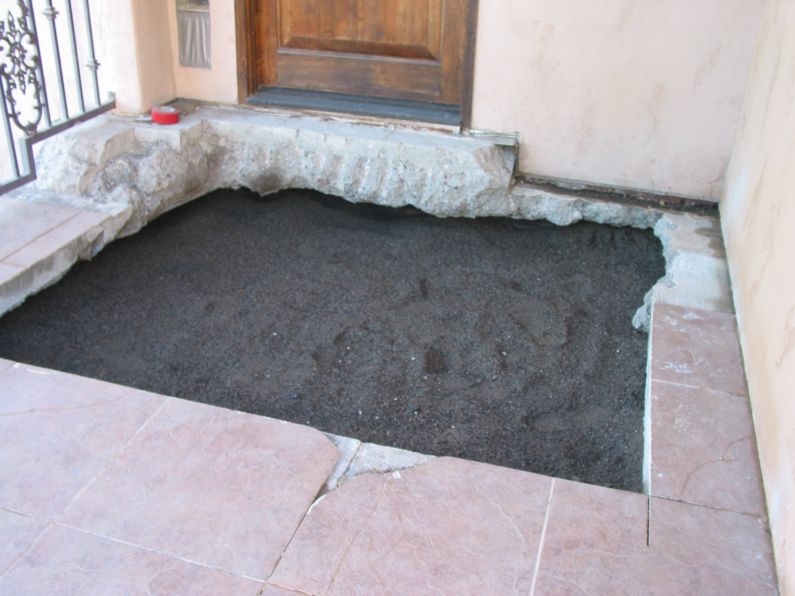
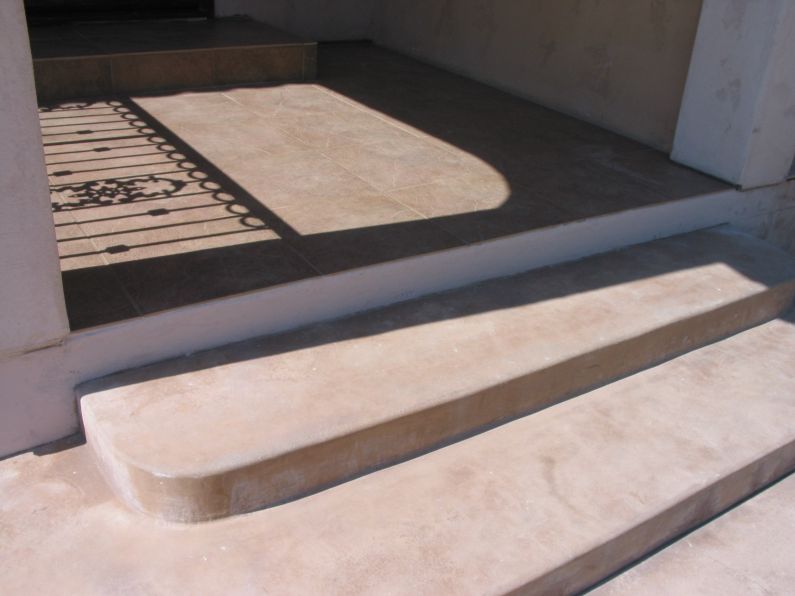
The front porch, repoured.
|
 |
 |
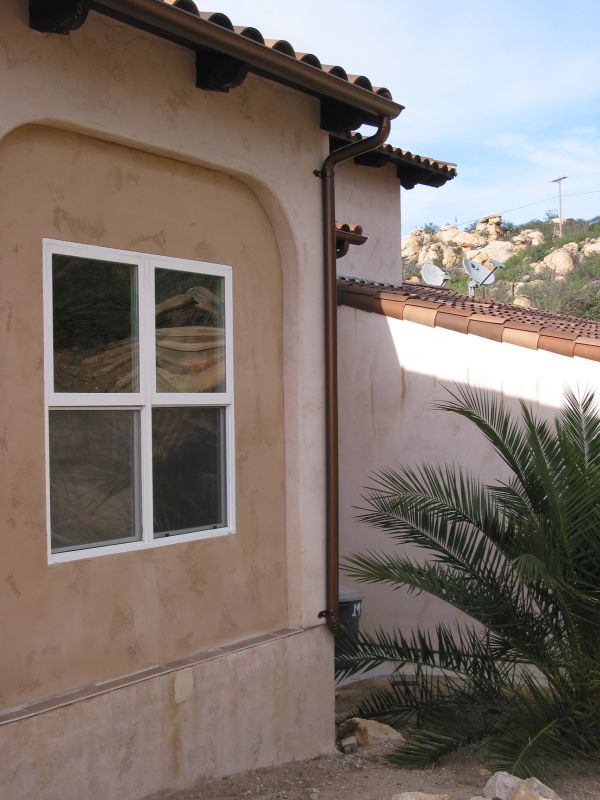 We picked a half-round gutter to match the tile roof. We added round downspouts with decorative brackets. |
 We decided to used the "faux copper" for the gutters and the downspounts off of the roof. We felt that the dark downspouts nicely framed the walls of the house. |
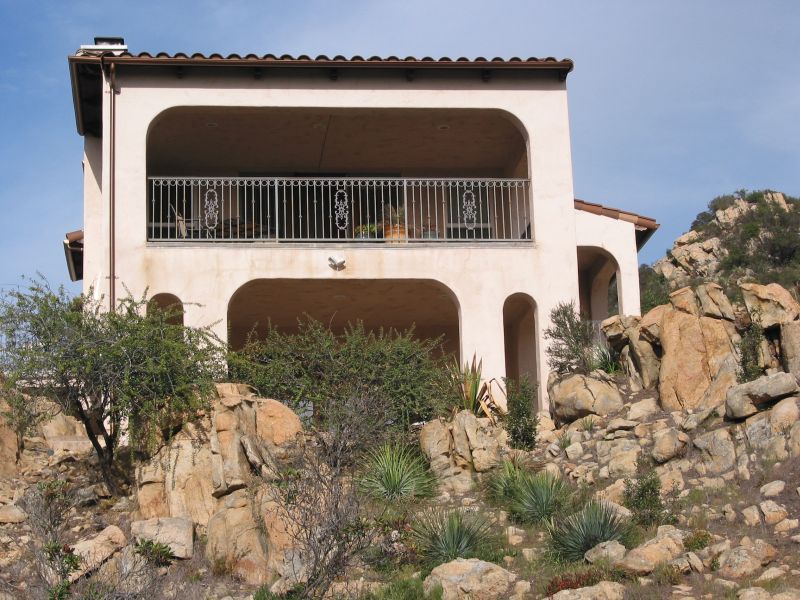
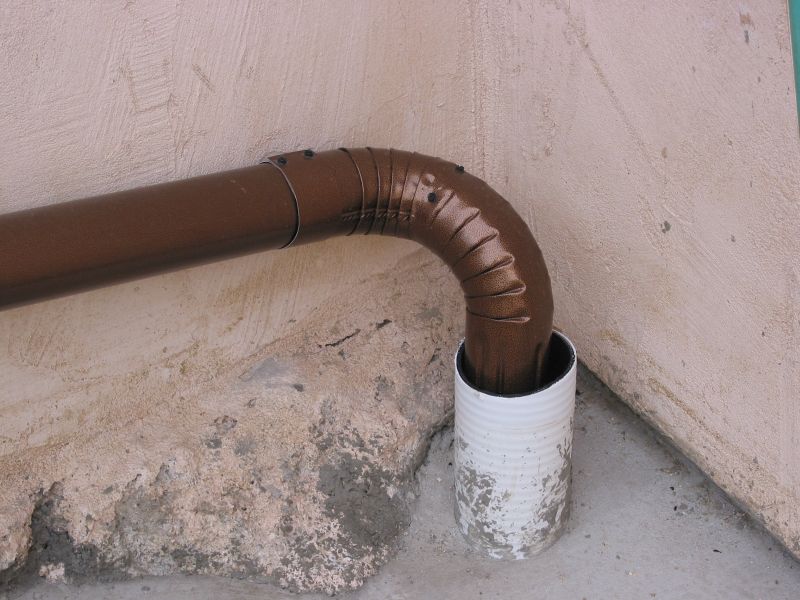 The downspouts all drain into the new 4" drain system installed with the retaining wall work. |
email : markd@silogic.com
="" href="http://pub49.bravenet.com/guestbook/show.php?usernum=4182907657&cpv=1">="" href="http://pub49.bravenet.com/guestbook/show.php?usernum=4182907657&cpv=1">