Site Home Other MGB's
Nut and Bolt Sizes
The San Diego MG Club
YouTube - University Motors
MG's in the Movies
My New Cylinder Head Rebuilt Front Shocks

My New (Correct) Cylinder Head

This Page last updated on .

In March of 2008, I completed the replacement of the incorrect 12H2389 cylinder head with a correct 12H1326 head. I started this job in March of 2006! Here are some photos.

I asked at the San Diego MG Club if anyone had a head for my 66B. The resident "Wrenchhead", Paul, had a head. I made arrangements to buy it. Paul, as a service to club members, has heads refurbished. He has them magafluxed, resurfaced, and then rebult with hardened valves and seats.

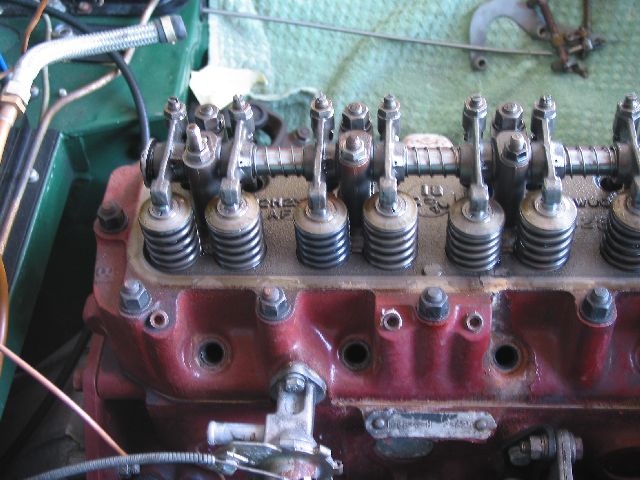
This is the old head. You can see the air pump connections which were pluged.
With old cylinder head off, we get a view of the tops of the pistons. They don't look too bad.
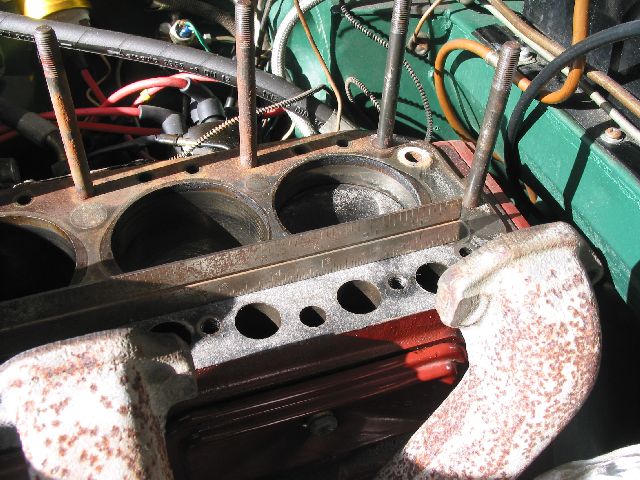
Checking to make sure the block is still flat.

So it took me a year of part-time work to get the old head off. I worked very slowly and documented every part removed. I had to cut off one exhaust manifold stud because I chose to not unbolt the exhaust manifold from the exhaust system. Next time, I'm going to drop the exhaust system completly, I spent a lot of time trying to get that stud out before I cut it off.

So I started looking at the replacement head that I bought. It is a 12H2709. It had been sitting in my garage for a year.

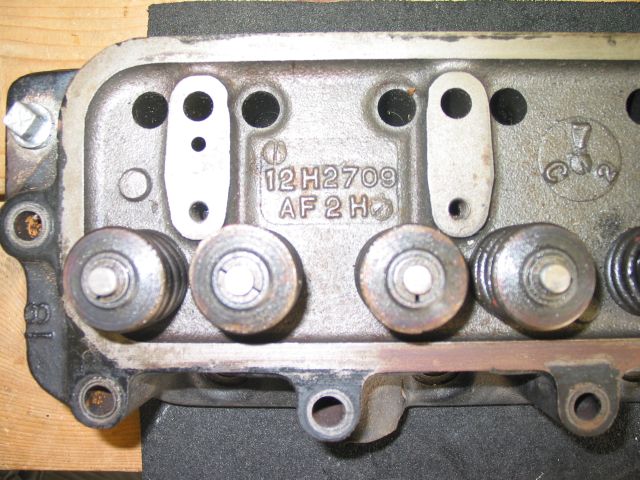
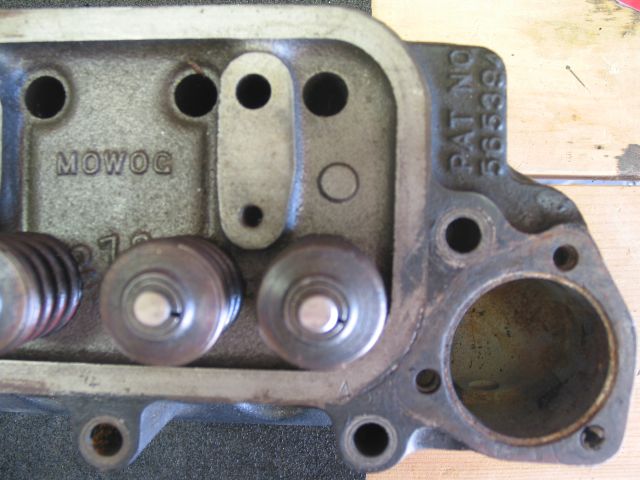
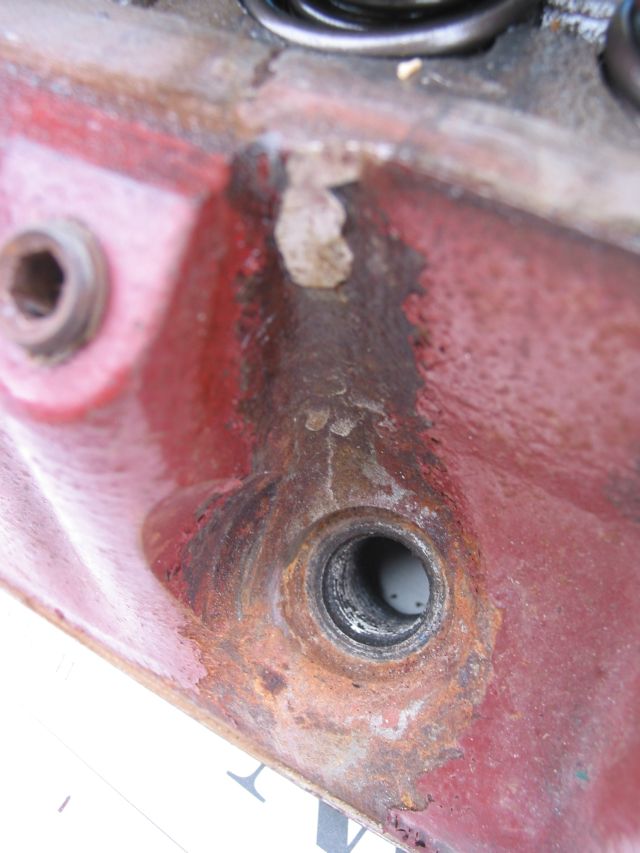
Casting number 12H2709. The plugged hole at the rear of the head was interesting. The built date must be encoded in the C72 tag.
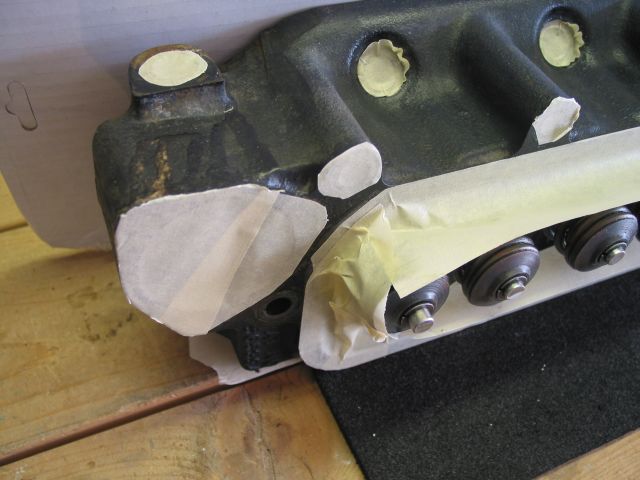
I carefully masked and painted the head with paint purchased from Moss Motors.

The more I looked at this head and the numbers on the plates, the more I started wondering. The plugged hole at the rear did not seem right. I know that this was a fine head to put on the car and that it was a good rebuild. But was it the correct head? Did I care? I found a web site which showed the correct heads for various years of MGB. Here is an excerpt from that table shown on the Autochart.com web page:
Engine Intro   Head Casting Air Intake
Series Dates Market Part # Number Injection Valve Dia.
18G May-62 ALL 48G318 12H1326 NO 1.562
18GA Feb-64 ALL 48G318 12H1326 NO 1.562
18GB Oct-64 ALL 48G318 12H1326 NO 1.562
18GF Oct-67 USA 48G538 12H2389 YES 1.562
18GH Oct-68 NA 48G538 12H2389 YES 1.562
18GH Oct-69 NA 48G538 12H2389 YES 1.562
18GJ Oct-69 CA 48G538 12H2389 YES 1.562
18GK Aug-70 NA 48G538 12H2389 YES 1.562
18V Aug-71 EXPORT 12H2708 12H2709 NO 1.625
18V Dec-74 NA BHM1062 CAM1106 YES 1.562

So the 12H2709 casting was used starting in 1971, probably for 1972 models. My car should be the 12H1326. This is really a nit but I figured that since I was going to all of this trouble, that I should use the correct head. (You can also see from the table that the 12H2389 head which was on the car when I bought it, was used from 1967 to 1971 - it had the air pump connections near spark plug.)

So I contacted Paul and we talked about the "correct" head for my 66B. The 12H1326 head is the correct number. This one was a little more expensive. I returned the first head and got my replacement in March of 2007.

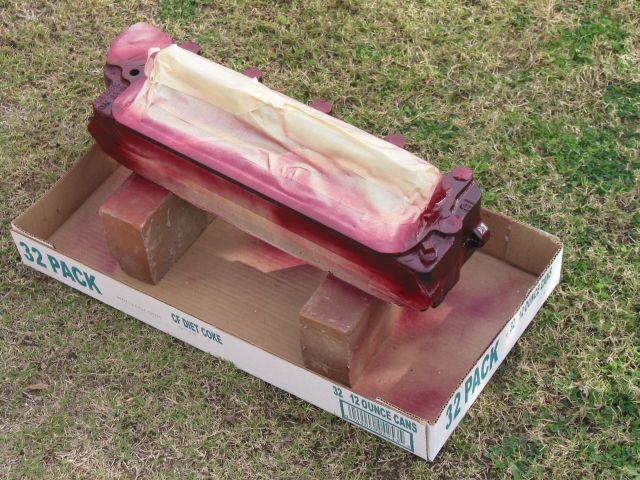
The first thing was to paint the head. This was my second head paint job so I was getting pretty good at masking and spray painting.
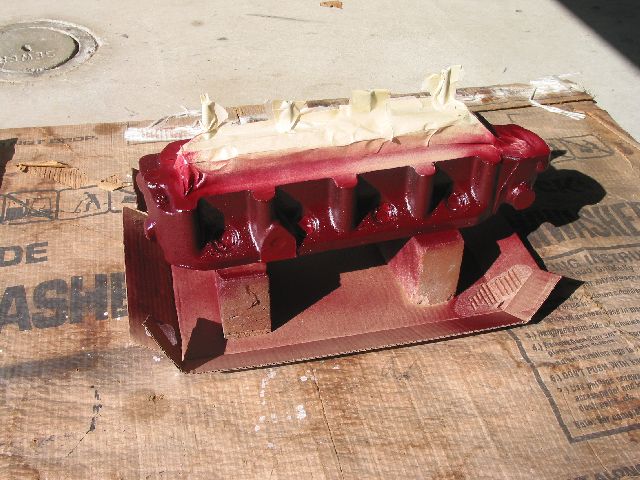
After the painting. It actually looks pretty good.
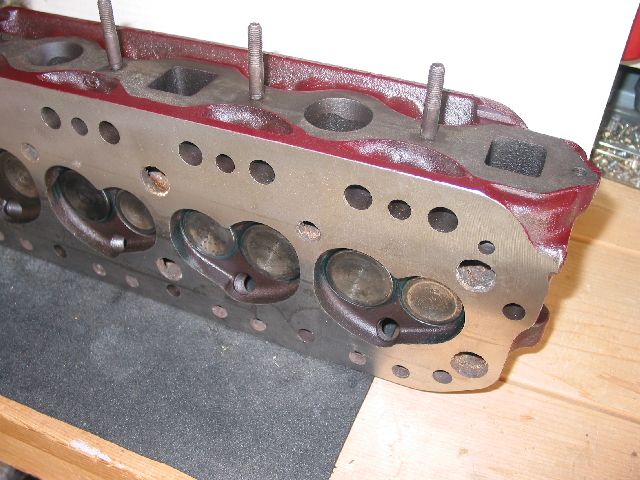
Head 12H1326
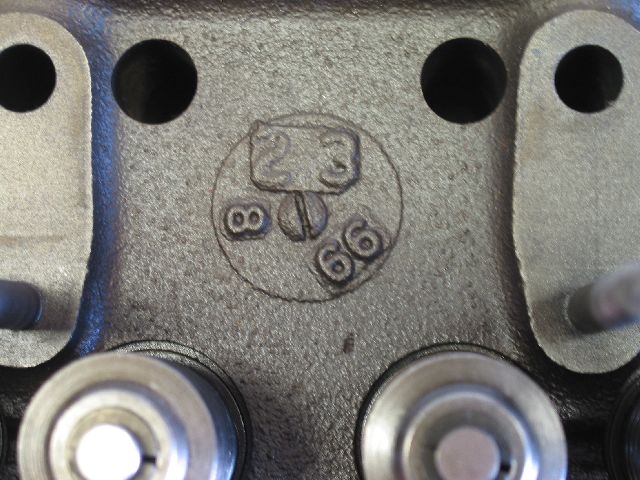
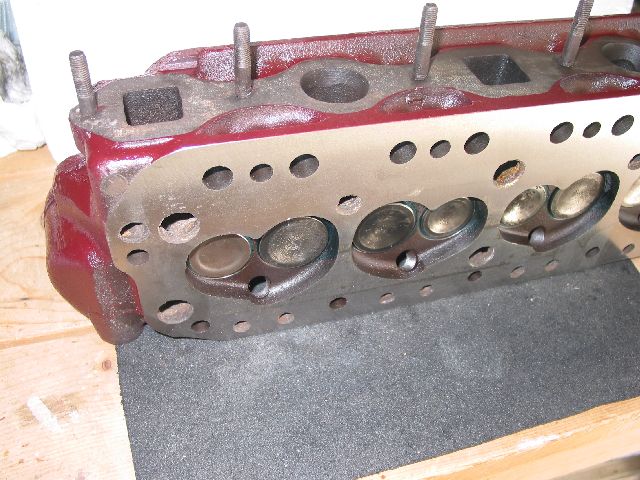
Original built date 23 Aug 1966. The "correct" head for this year.
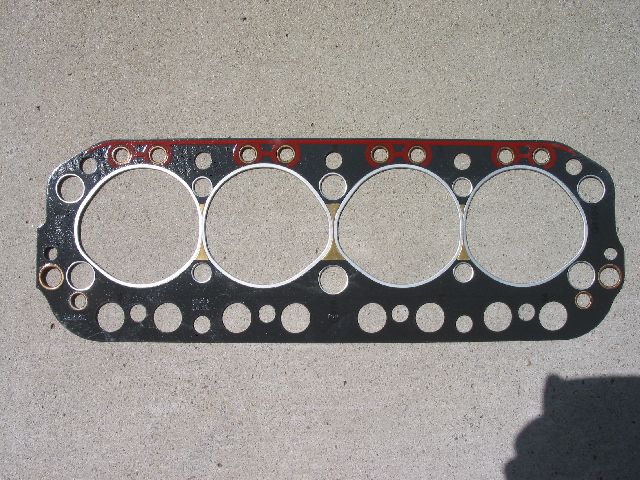
New head gasket. This is a Payen gasket. Highly recommended.
Old head removed and new gasket in place.
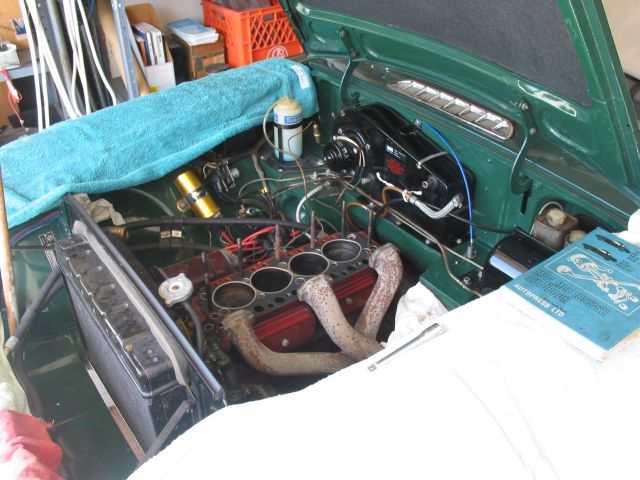
New head in place. I had a lot of trouble with the front most exhaust manifold stud. It was very difficult to get it back in because the manifold would not move enough (I didn't disconnect the manifold from the exhaust system). I finally dropped the muffler mounting brackets at the rear end and the exhaust system rotated enough to get the stud back in.
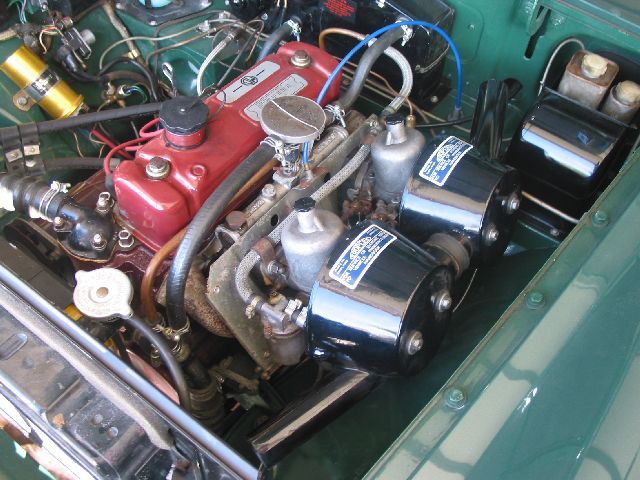
All the pieces reassembled.
Another view.
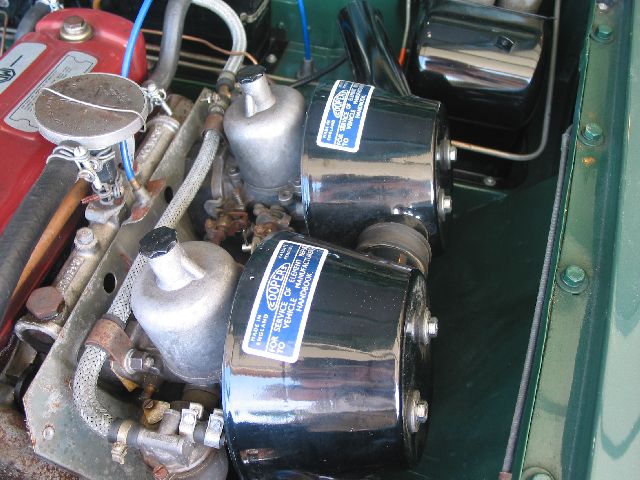
The carburators reattached.

Before I tried to start it, I changed the oil and filter (see below) and the transmission oil. I initially filled the radiator with plain water in case I had leaking problems. I also took out the radiator and back flushed it with a garden hose.

I was amazed that when I got it all back together, the car actually started.

I had readjust the carburator settings completely. They were seriously out of  balance and the mixture settings were wrong. I adjusted the timing and checked the operation of the mechanical and vacuum advances.

I replaced the coolant with about a 50-50 mixture of antifreeze.


Lessons that Should have been Learned

1. Drop the entire exhaust system and unbolt the exhaust manifold from it.
2. Buy a new set of studs, bolts and washers for the head. I did not do this as mine did not seem too bad. But again, with all the work to replace the head, I should have taken the extra effort to use new studs. The best seem to be from ARP.
3. Have some spares...  I had to make two extra orders to Moss to buy nuts and studs.
4. What I learned about studs - Studs stretch - Check your studs (after you remove the head) by hand turning a bolt onto the stud. If it starts out easy then gets harder, then gets easy again, your stud has been stretched, a common occurence as it is torqued down. The bolt is usually about half way along the threads when the block is assembled. Torqueing it down, lenghtens the bolt just a little. If this is done a few times, the bolt is lenghtened a lot. If you can't hand tighten a bolt onto the stud, replace both the bolt and the stud.


A Crack That was Repaired

This desire to replace the head started because I thought that the old head had developed a crack. There was an area between number 2 and 3 cylinders were the paint all flaked off.  This, along with some hot running issues (later corrected by having the radiator rodded out) had me worried that I cracked the head.

To make this part of the story short, once I got the head off, it was clear that the head had not recently cracked but must have cracked a long time ago and it was welded and repaired. It was this welded area which had the paint flaking off. With my original reason for doing this head replacement gone, I still decided to continue. At least I knew that the replacement head was crack free.

Here is the area where the paint flaked off.
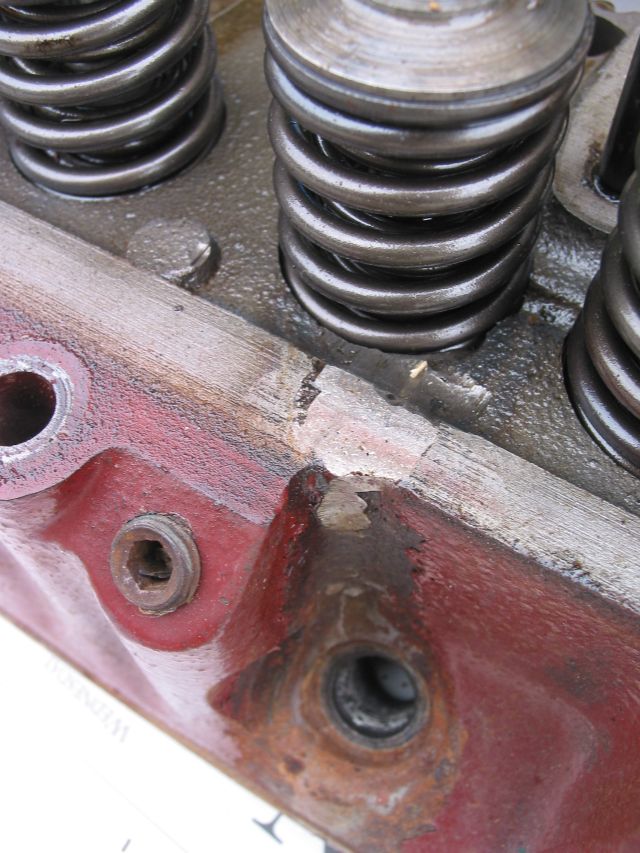
Here you see the weld repair of an old crack.
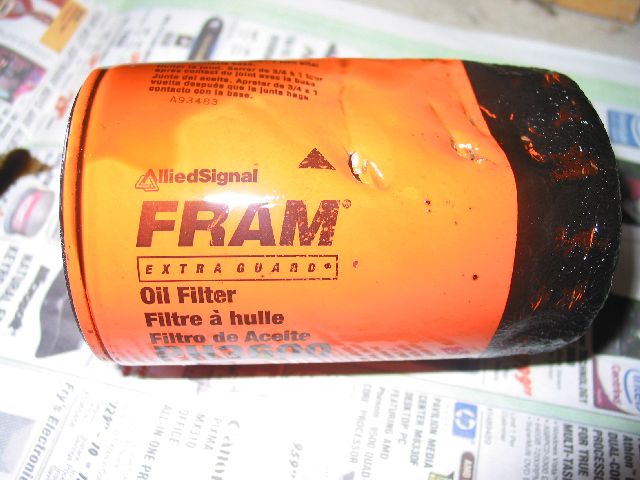

Aside : Oil Filter Troubles


The car had a drop down oil filter adapter (235-940) sold by Moss Motors. The way that these are built, there is an internal bolt and screw in the adapter that that filter screws onto. The bolt is such a size that if you screw on the oil filter too much, the filter bottoms out on the bolt and is very hard to get off. The Fram PH3600 filter, though, is a filter recommended by Moss because it has a particularly deep top plate so its not supposed to bottom out. Click here for an article on mgaguru.com.

Well the filter was really tough to get off. I eventually squashed it with a wrench and it came off. See the photo, above. With it came the bolt and screw that should have been left attached to the block.

I got the bolt and screw off the filter and I reattached the drop down adapter to the block. I put on the new oil filter only hand tight and there were no leaks. It will remain to be seen when I change the filter the next time if I was successful in attaching it without bottoming out.
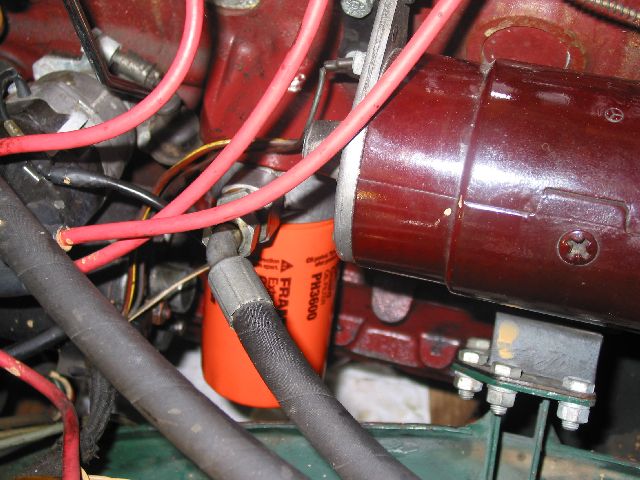
New Fram PH3600 filter in place. Moss recommends two other brands as well as the Fram (look in their catalog for the specific recommendations). I will try a different brand next time.


This site prepared and maintained by Mark DiVecchio

email :  markd@silogic.com

DiVecchio HOME
Frazzini HOME
Site HOME 

This site will be under construction for a while.