 Background
 I
started development of this web page in January 2025. It will be under
construction for a while.Background The
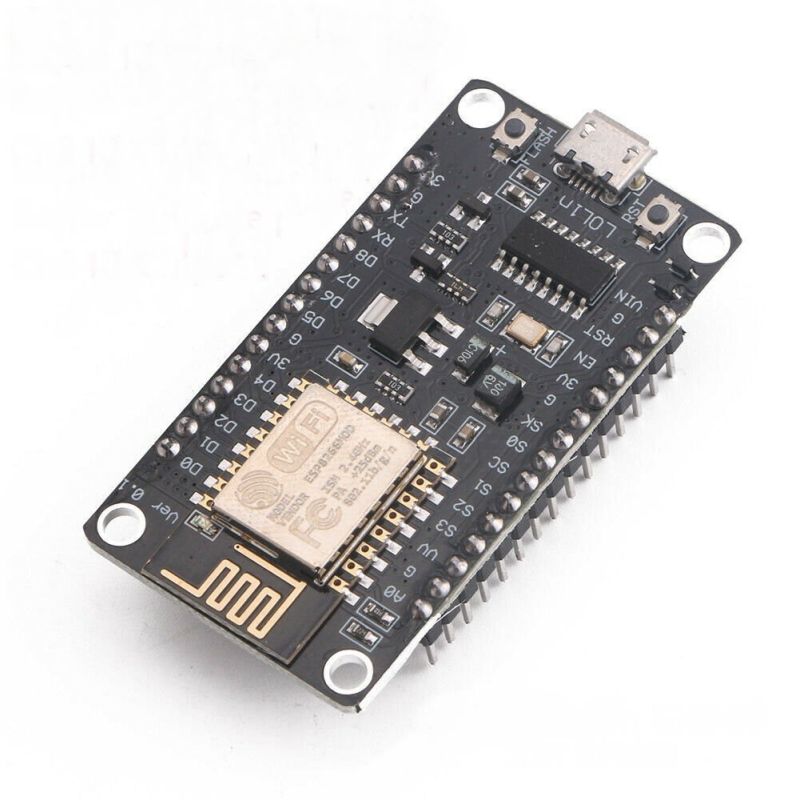
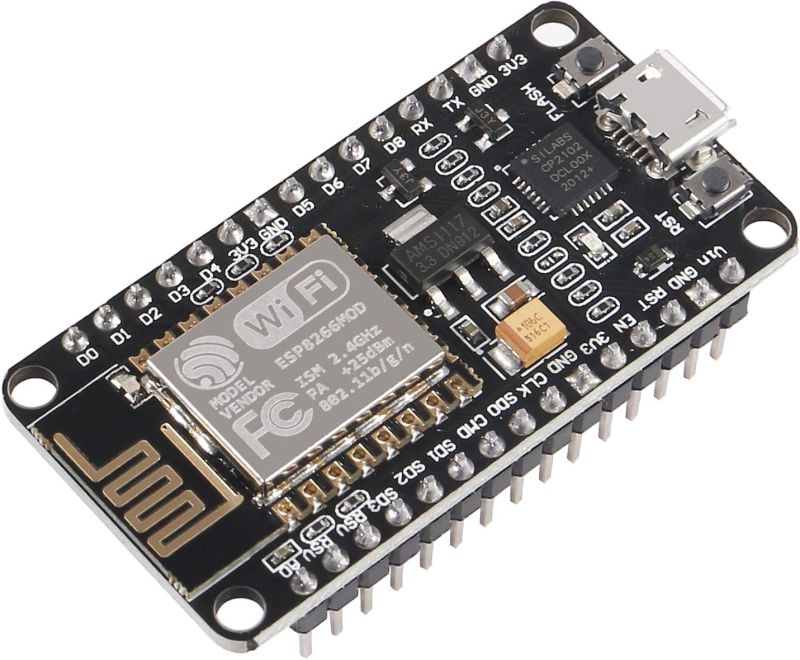
ESP8266My Ideas
I
started development of this web page in January 2025. It will be under
construction for a while.Background The
ESP8266My Ideas
 Parts
SourcesRTC WTIU Emulator (sketch in file
RTCWTIU.ino)
Parts
SourcesRTC WTIU Emulator (sketch in file
RTCWTIU.ino)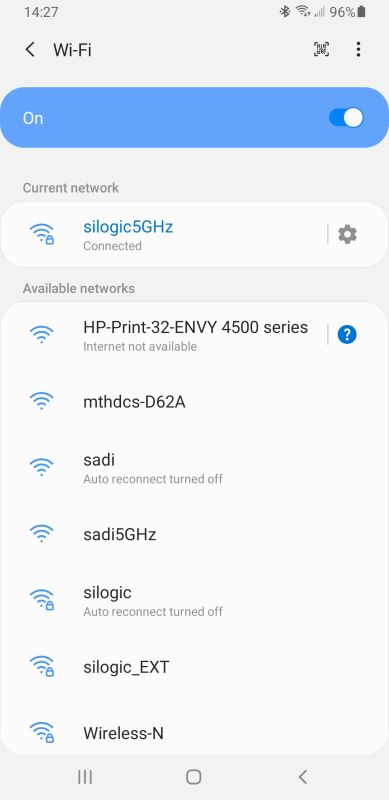 |
After you upload the
RTCWTIU sketch into the ESP8266, it will
start an Access Point. If you look on your phone, you will see the new
WiFi
AP listed as "mthdcs-XXXX". Touch on that AP to connect to it. |
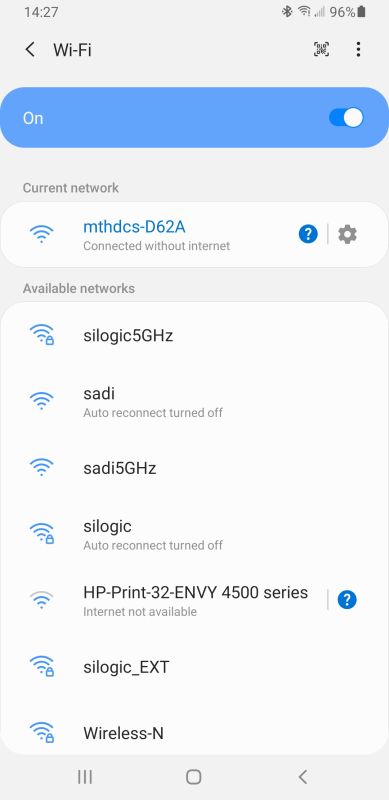 |
The
phone should connect up and you should see "mthdcs-XXXX
Connected without internet". If your phone can't seem to maintain the network connection, look for a prompt asking if you want to stay connected even though an internet connection is not available. When you get that prompt, press "Stay Connected". |
.
|
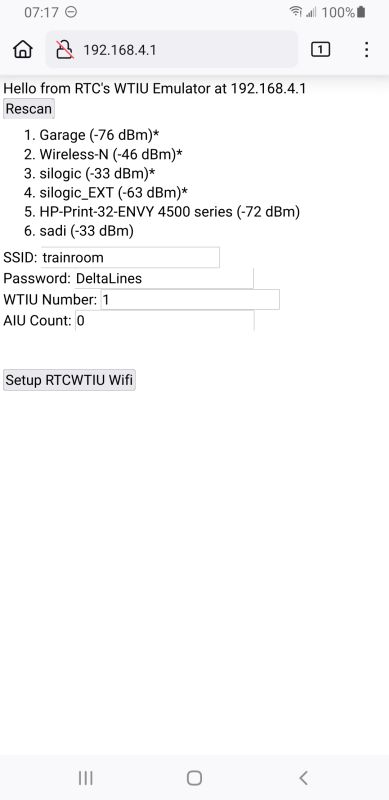
Then
startup a web browser. I use Chrome. I've could not get Firefox to
work reliably on my Android Samsung S22+. . Enter this IP
address into the Address Bar: 192.168.4.1 . Press
GO. You should
see this screen which lists all of the accessibleWiFi routers in the
area. Here is were we enter the information that the
RTCWTIU sketch needs to communicate with your computer via the WiFi
router. Enter: The SSID of your router The WiFi password of your router The WTIU number to be emulated (1-5) The number of emulated AIU connected (0-5) Then click on [Setup RTCWTIU WiFi]. |
|
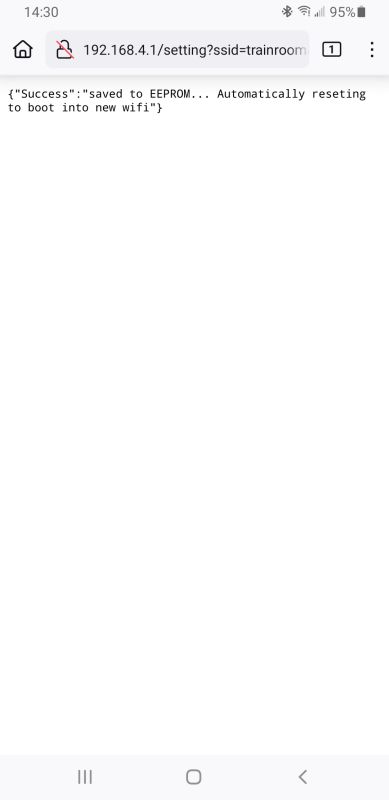
You
should see this screen indicating that the device is rebooting and will
connect up the WiFi Router. The ESP9266 will reboot and start. If the LED on the board stays on, the board is having trouble connecting to the router. If you need to change these setting after first setting them, press the ESP8266 reset button twice a few seconds apart. The ESP8266 will then let you go through these setup steps again. |
Getting the sketches into an ESP8266RTCWTIU : loading compiled code
using RTCWTIU-X.XX.zip and COMx port| E:\Projects\ESP8266\RTCWTIU>rem E:\Projects\ESP8266\RTCWTIU>rem USB E:\Projects\ESP8266\RTCWTIU>"C:\Users\markd\AppData\Local\Programs\Python\Python312\python" -I "upload.py" --chip esp8266 --port "COM4" --baud "115200" "" --before default_reset --after hard_reset write_flash 0x0 "build\esp8266.esp8266.nodemcuv2/RTCWTIU.ino.bin" esptool.py v3.0 Serial port COM4 Connecting.... Chip is ESP8266EX Features: WiFi Crystal is 26MHz MAC: ac:0b:fb:ce:d6:2a Uploading stub... Running stub... Stub running... Configuring flash size... Auto-detected Flash size: 4MB Compressed 367792 bytes to 261823... Wrote 367792 bytes (261823 compressed) at 0x00000000 in 23.1 seconds (effective 127.3 kbit/s)... Hash of data verified. Leaving... Hard resetting via RTS pin... E:\Projects\ESP8266\RTCWTIU>rem E:\Projects\ESP8266\RTCWTIU>pause Press any key to continue . . . |
2. RTCWTIU : loading pre-compiled binary code
using RTCWTIU-X.XX.zip and the HTTPUpdater (with a browser like Firefox or Chrome)3. RTCWTIU : compiling source
code using RTCWTIU-X.XX.zip and a COMx port.| Using library ESP8266WiFi at
version 1.0 in folder:
C:\Users\markd\AppData\Local\Arduino15\packages\esp8266\hardware\esp8266\3.1.2\libraries\ESP8266WiFi
Using library ESP8266HTTPClient at version 1.2 in folder: C:\Users\markd\AppData\Local\Arduino15\packages\esp8266\hardware\esp8266\3.1.2\libraries\ESP8266HTTPClient Using library ESP8266WebServer at version 1.0 in folder: C:\Users\markd\AppData\Local\Arduino15\packages\esp8266\hardware\esp8266\3.1.2\libraries\ESP8266WebServer Using library ArduinoOTA at version 1.0 in folder: C:\Users\markd\AppData\Local\Arduino15\packages\esp8266\hardware\esp8266\3.1.2\libraries\ArduinoOTA Using library ESP8266mDNS at version 1.2 in folder: C:\Users\markd\AppData\Local\Arduino15\packages\esp8266\hardware\esp8266\3.1.2\libraries\ESP8266mDNS Using library EEPROM at version 1.0 in folder: C:\Users\markd\AppData\Local\Arduino15\packages\esp8266\hardware\esp8266\3.1.2\libraries\EEPROM Using library Time at version 1.6.1 in folder: C:\Users\markd\Documents\Arduino\libraries\Time Using library ESP_DoubleResetDetector at version 1.3.2 in folder: C:\Users\markd\Documents\Arduino\libraries\ESP_DoubleResetDetector Using library LittleFS at version 0.1.0 in folder: C:\Users\markd\AppData\Local\Arduino15\packages\esp8266\hardware\esp8266\3.1.2\libraries\LittleFS Using library ESP8266TimerInterrupt at version 1.6.0 in folder: C:\Users\markd\Documents\Arduino\libraries\ESP8266TimerInterrupt |
4. RTCWTIU : compiling
source code using RTCWTIU-X.XX.zip and use the OTA (Over the Air) upload.Possibly Useful
Tools to Help Get your WTIU On-Line - WIU Packet
The Free
Software Foundation
web page talks about what "free software" means.
For more information, look on the Open Source Initiative web site which includes a description of what Open Source means and their certification of the GPL version 3.
Here is the copyright notice for those two licenses:email : markd@silogic.com
The DiVecchio
genealogy home page
The Frazzini
genealogy home page
This site will be under construction for a while.